How to disassemble iphone 5
Disassembling the fifth iPhone has some of its own characteristics compared to the third and fourth models. These include the mandatory presence of a special vacuum suction cup, which is not at all necessary for disassembling previous models.
So why might you need knowledge on how to disassemble iphone 5? The most common cause is replacing a cracked screen. In order to install a new sensor, you will need to remove the old one. But first, you still need to figure out what the famous fifth iPhone consists of.
The main components of the iPhone
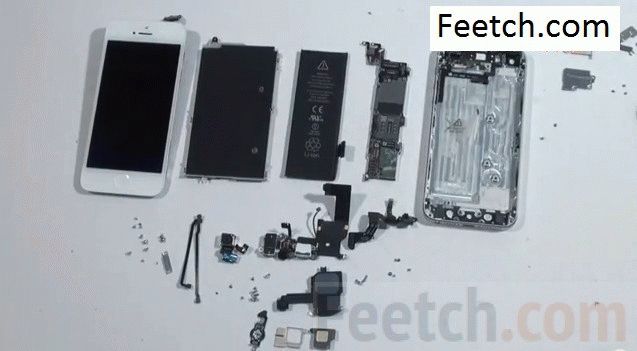
In order to correctly disassemble an expensive device, you need not to confuse anything in its “stuffing” and know exactly what is being removed and how, and also do not forget about the sequence of actions. Next is a list of iPhone components that will have to be dismantled in the future, or at least not damaged:
- 4-inch diagonal display with a resolution of 1136 × 640 pixels;
- single-chip system from Apple A6;
- 8 megapixel camera;
- eight pin connector;
- device to support 4G LTE wireless communication.
We remove the display correctly
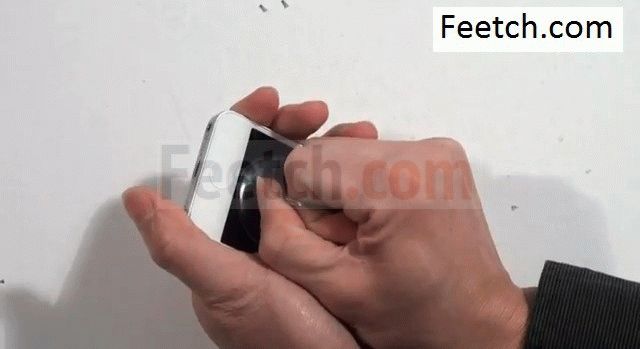
To remove a cracked Retina display, first you need to unscrew the two five-lobe screws that are located on the bottom edge of the iPhone. After that, remove the display.
Attention: you do not need to try to pick it up or pry it with something! For this, a special tool is used in the form of a rubber suction cup, which can be bought in specialized stores or ordered on the Internet. Firmly press the suction cup to the display and pull towards you. The panel remains on the suction cup and you can proceed to further disassembly.
Another tool you will need is a miniature five-sided screwdriver. Only with its help you can normally unscrew all the screws in the fifth iPhone. Again, no need to try to use any other devices. Also, you should get a plastic or iron spatula in advance, with which we will pry off the connectors and modules.
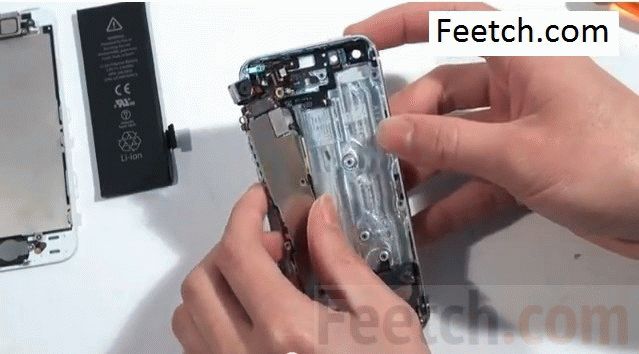
Removing the display module
Below the display is a lot of details and screws to work on. Next, we perform the following actions:
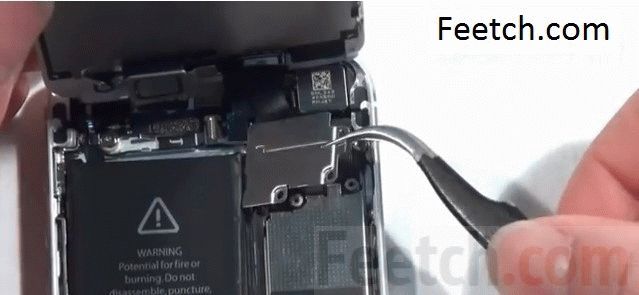
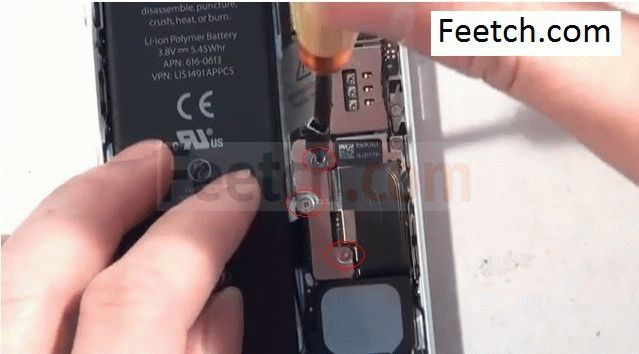
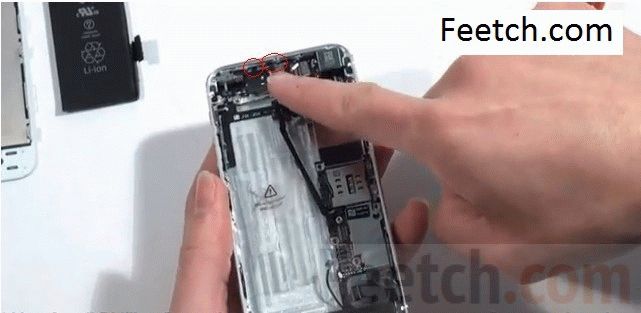
- We unscrew the 3 screws that fix the screen of the display module cables, remove it.
- Using a spatula, we snap off the connector of the upper module and the sensor connector located under it.
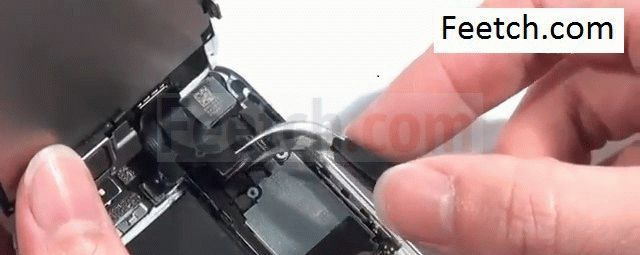
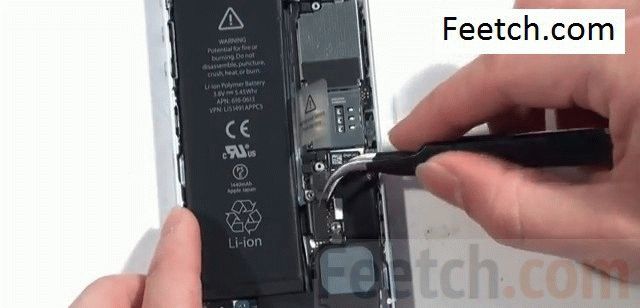
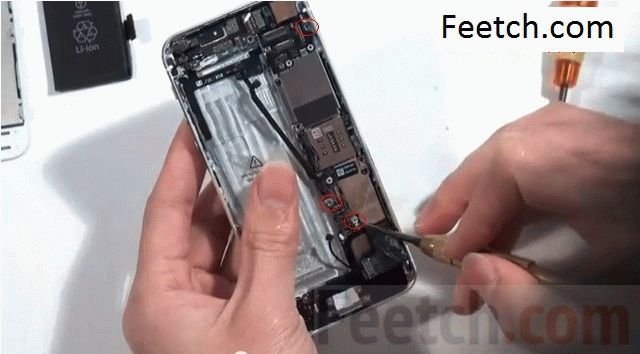
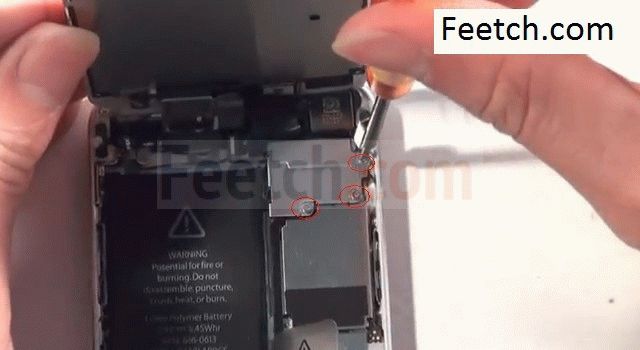
- We unscrew 3 screws and remove the screen that fixes the battery connector, carefully snap off its connector and remove the battery itself.
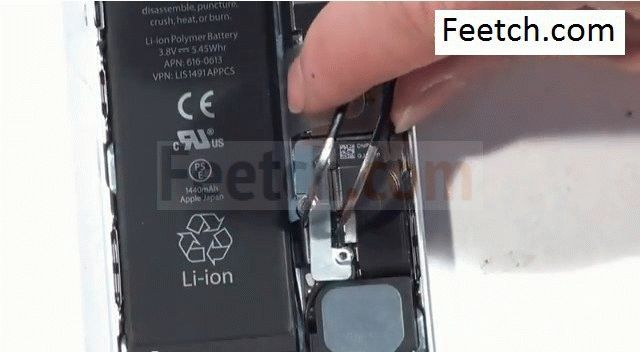
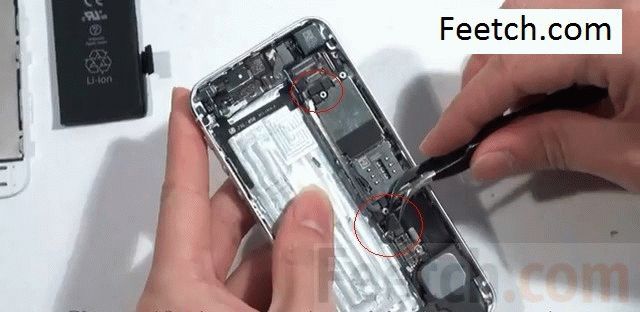
- We remove the screen that fixes the connector of the lower module. To do this, unscrew the two screws holding it. Unclip the connector.
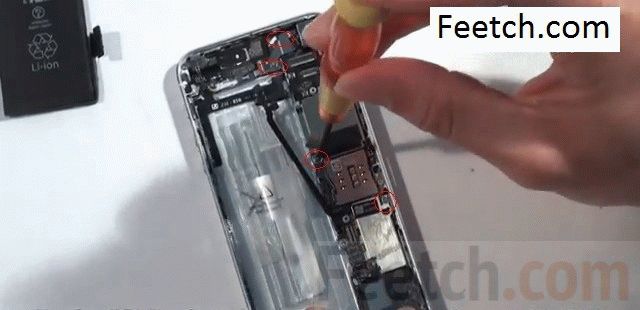
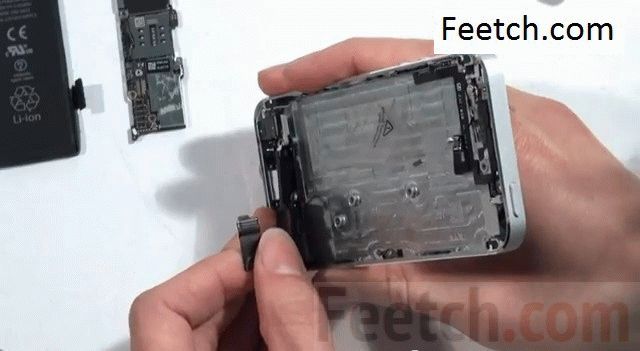
- Remove the SIM tray from the side panel.
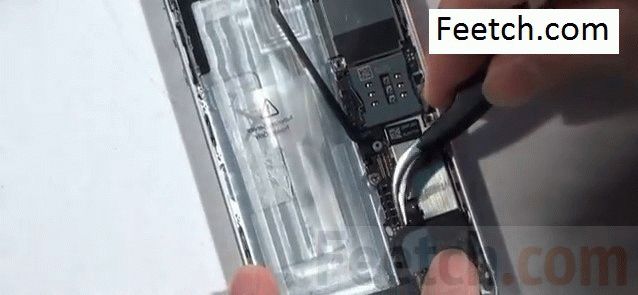
- We snap off the connector of the cable of the lower buttons and its cables.
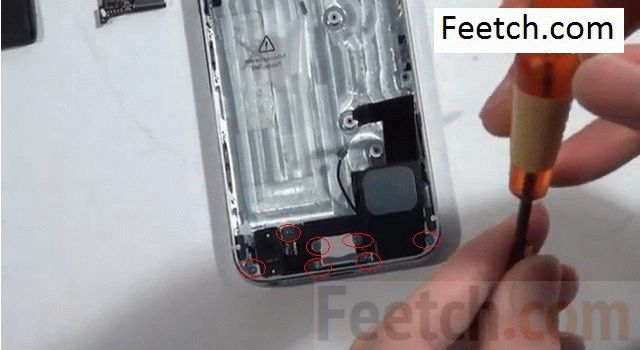
- We unscrew the screws in the phone case and two end screws.
- Disconnect the cable and raise the board. Disconnect another cable with tweezers.
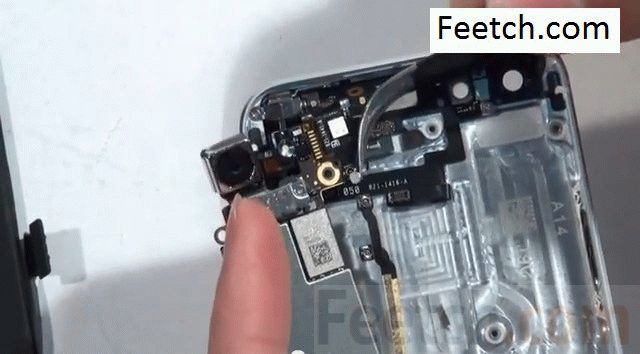
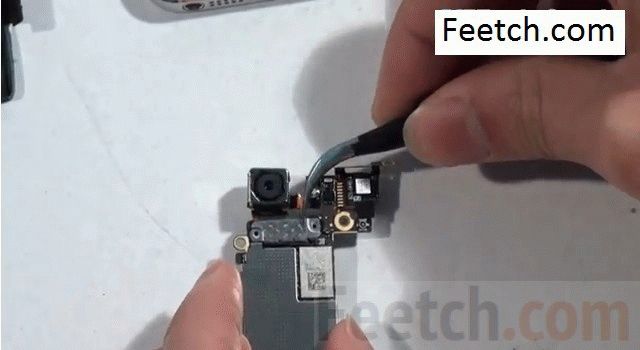
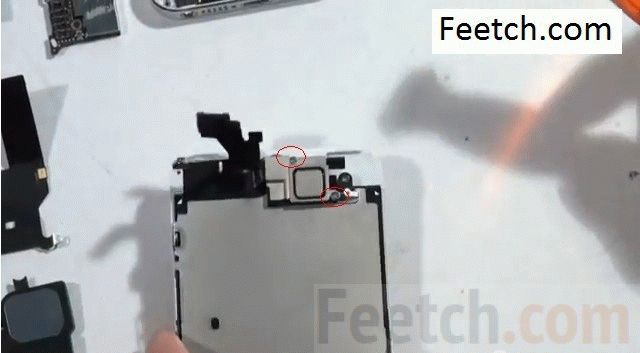
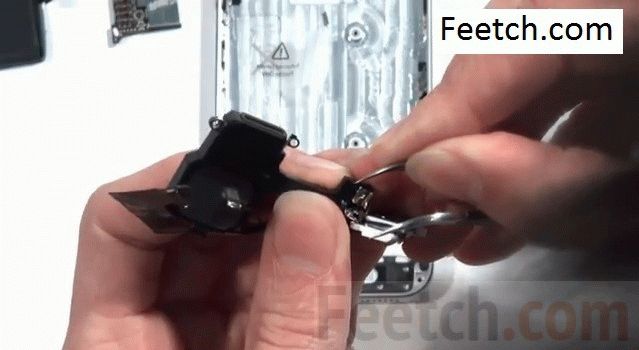
- At the top of the board is a screen that fixes the camera module. Let's take him too.
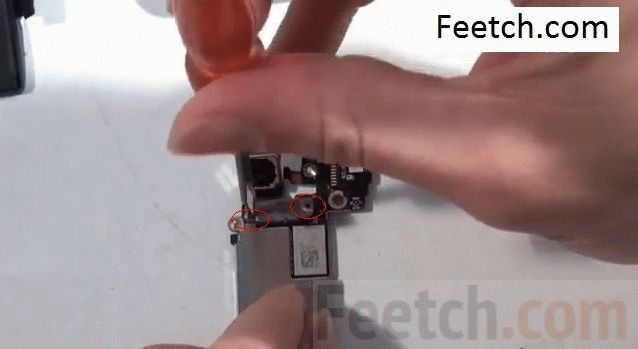
- We unscrew the screws fixing the lower module.
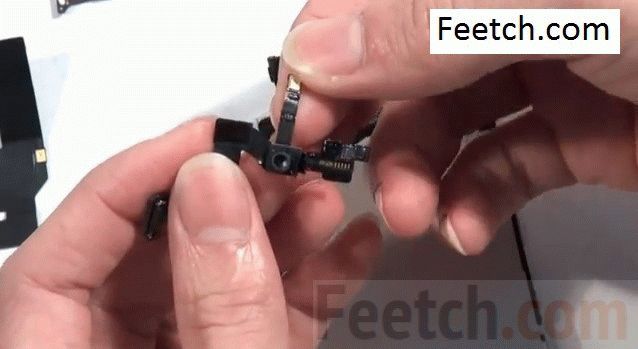
- We peel off the cable with the contacts of the Home button and remove its block.
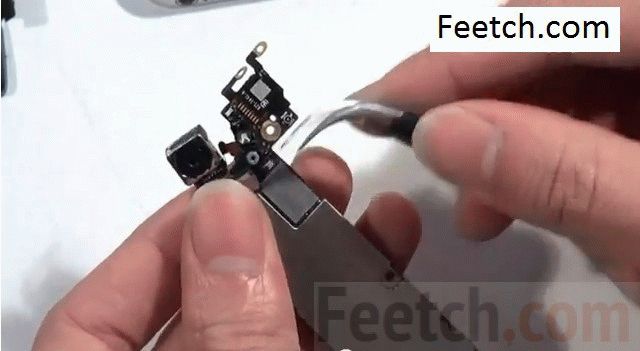
- We remove the lower cable, which has a digital connector, a headset jack and a microphone.
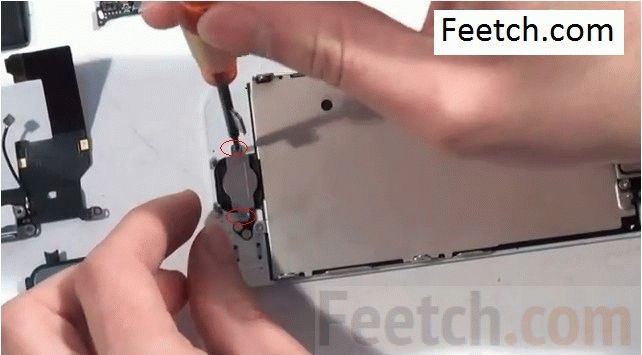
- Unscrew the screen of the Home button and remove the button itself.
- We remove the screen of the upper cable, the acoustic speaker and the upper cable.
- We unscrew the screws that fix the screen of the display module, remove the metal panel.
Picture version
![]()